The Nopali Office Scheduler was specifically designed with the typical medical office in mind. Before reading this page, you should first go through the steps required to initially setup the scheduler, found here.
Press on the Office Scheduler toolbar item:
You should first run through the steps required to setup the scheduler. This will also give you ways to modify the scheduler default settings, should you need to change them.
You can access the Calendar Settings panel by either selecting the 'Calendar>Calendar Settings' menu item at the top of the screen or by double-clicking on the date header in the main window:
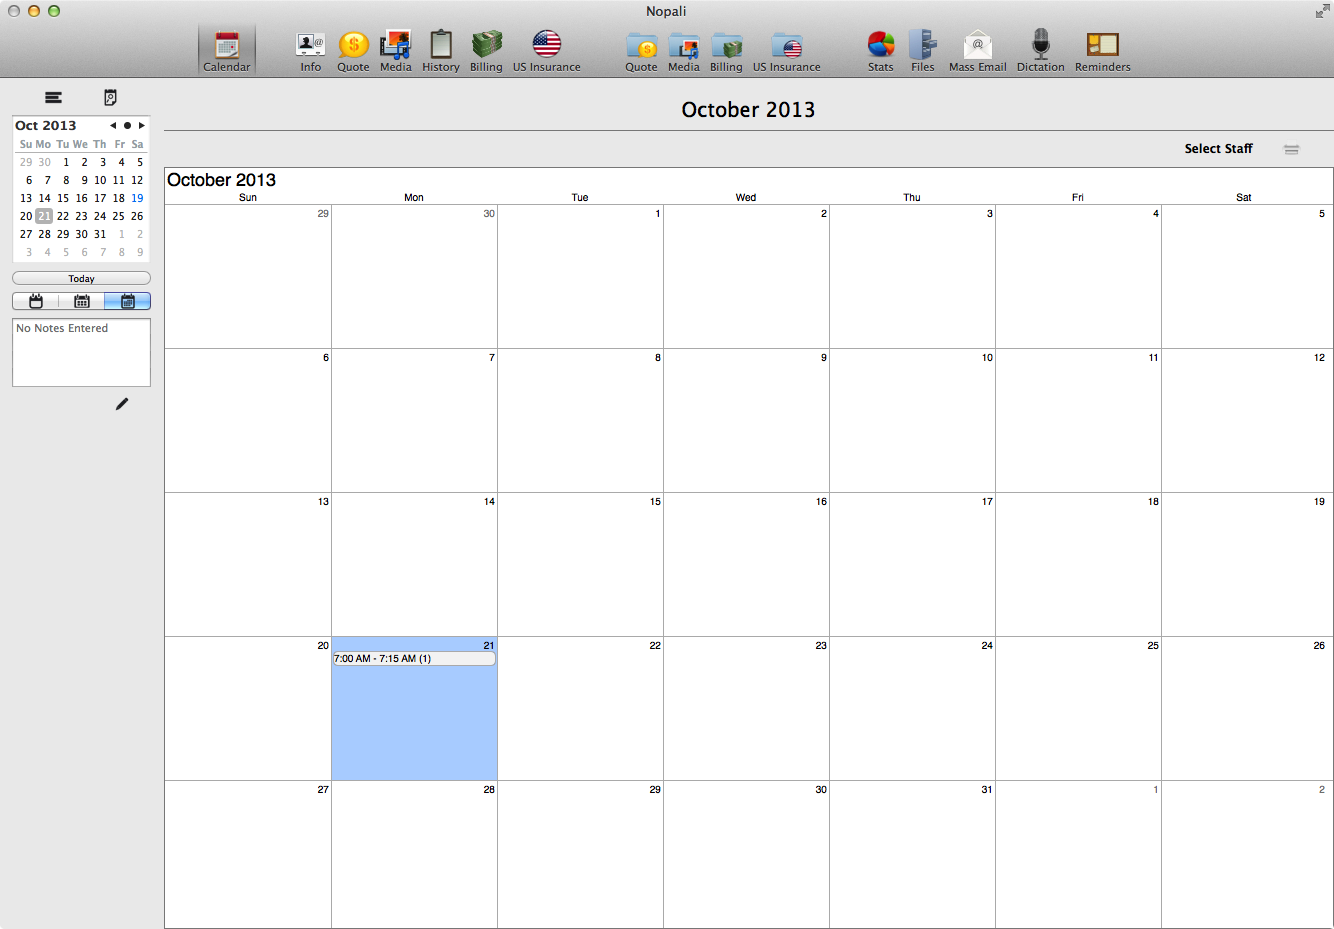
The main scheduler window contains a series of modifier elements on the left and a set of resource columns on the right:
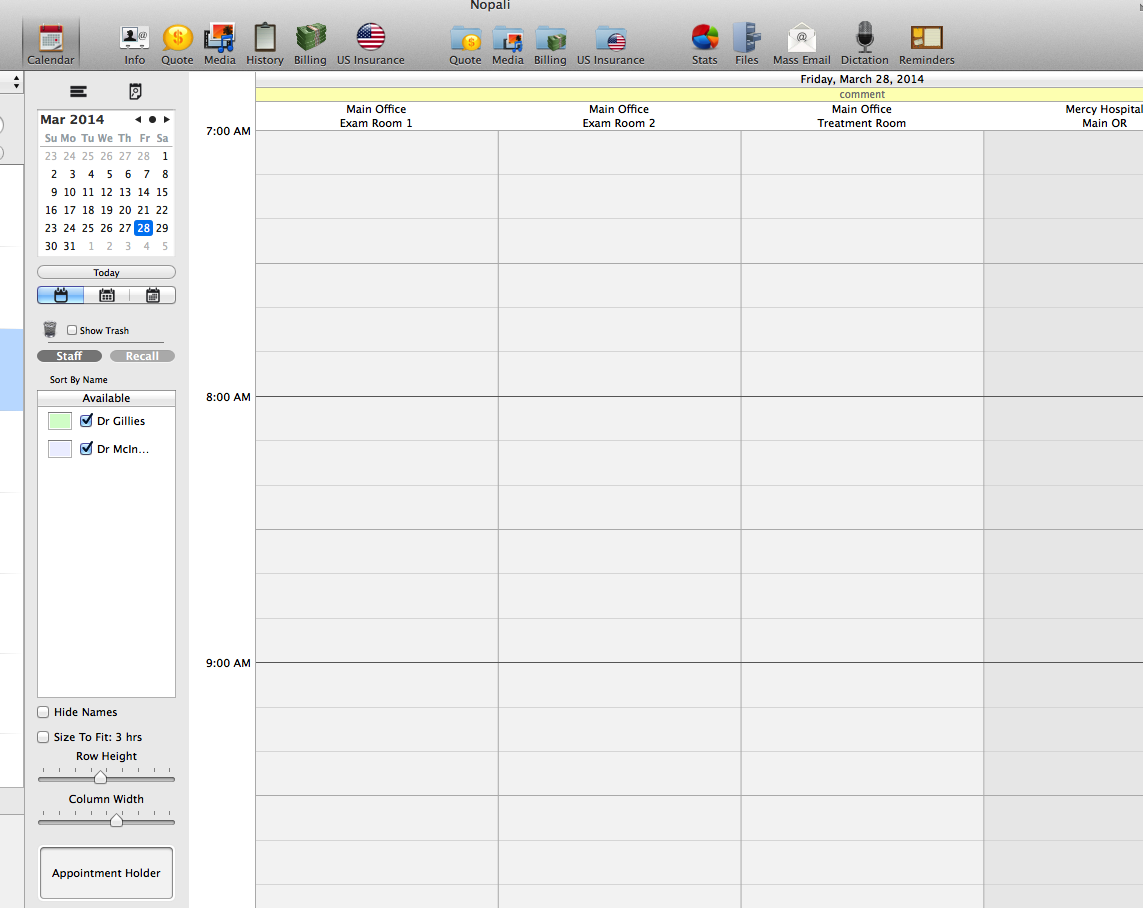
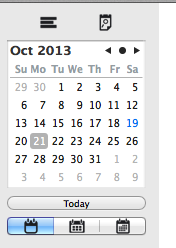
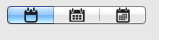
The top left contains a small calendar. Pressing a date on the calendar will show you the associated appointments on the columns in the main window. Below the calendar, you may choose to display the information in the main window by day, week or month:
The day view will show all the columns for a particular day. The week view is similar except that it will present all the columns for a particular week. The month view is different and presents the information in calendar format:
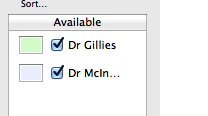
Appointments for a specific staff member in the main window can be highlighted by selecting one of names in the staff list. Staff member with checkmarks indicate that they are available for appointments. The colour next to the name indicates that colour for that staff member, and corresponding appointments will have the same background colour:
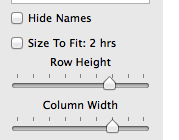
The way the columns are viewed in the main window can be modified by adjusting row height and column width using sliders:
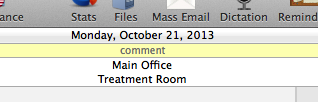
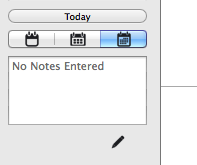
You can add a note for a particular day that will appear in the yellow area near the top of the main window:
Comments such as 'On Call' or 'Start At 11 am' can be added here. To add a comment, go to the month view and enter a comment in the text view on the left margin (press 'Edit' to make the area editable):

You can also use the Calendar Settings panel to change the comments using the 'This Day' tab.
Appointments are made either by double-clicking on or dragging across a column in the main window. After doing so, the New Appointment Panel will be presented:
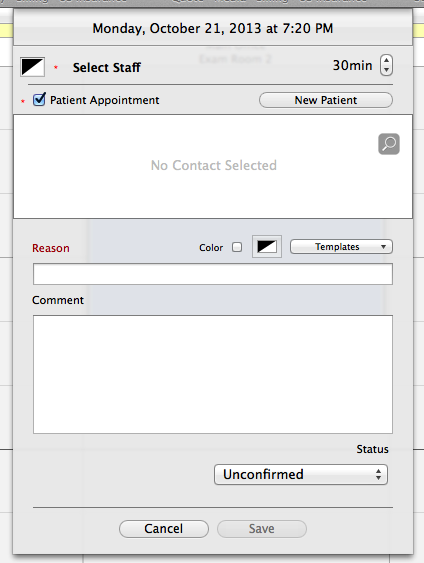
The New Appointment Panel has obligatory fields to be filled. An appointment requires a staff member, which is selected near the top:

Most of the time, you will need to link the appointment to a patient chart, check the Patient Appointment checkbox:

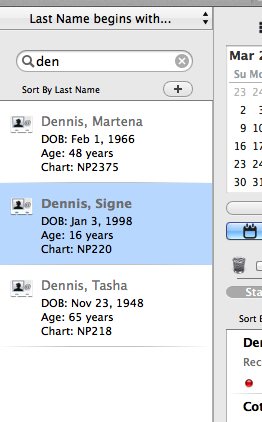
You can either search for an existing patient chart by pressing the search button, or create a new patient chart with the 'New Patient' button:
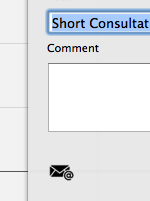
You can also colour-code the appointment, or select preset values from a list of templates that you may have created:

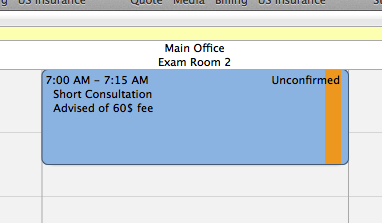
Press 'Create Appointment' to save your data. The appointment will be shown in the main window:
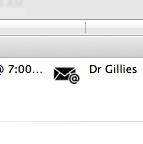
Double-clicking on an existing appointment will show a panel with some appointment details. Also, there is an email-sender button that can be used to send appointment information to patients:
You may change the 'status' (e.g. unconfirmed, confirmed, etc.) of an appointment by right-clicking on an appointment in the main window. A context menu will give you a list of status options to choose from.
The easiest way to move an appointment is to drag the appointment into a different column while in the 'week' view. However, this is only useful if the appointment is being rescheduled within the same week.
To move an appointment to a different week, you can drag an appointment from the 'Appointment Holder':

The holder remembers that last appointment selected in the main view. Dragging an appointment from the holder to a new location on the main view will relocate the appointment.
To delete an appointment, select it in the main window and press 'Delete' on your keyboard.
Press the 'Search' button underneath the small calendar to see the search panel:

With the 'Availability' panel, you can perform week-by-week searches after specifying the columns you are interested in, as well as the duration and staff member:
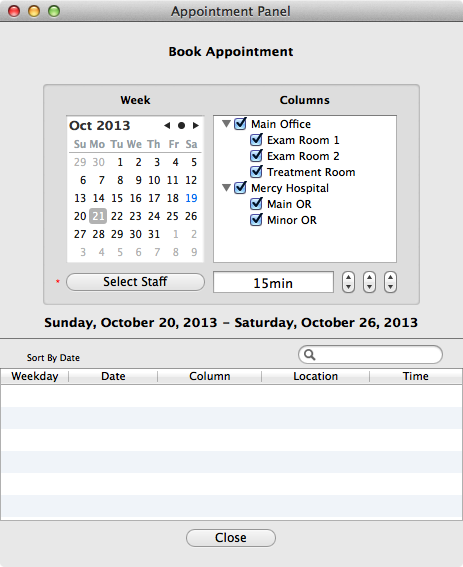
Pressing 'Search' will generate a list of possible slots in the table at the bottom of the panel. Double-clicking on one of the rows will take you to the slot in the main window.
You can search for an existing appointment for a particular patient by selecting the 'Calendar>Show Appointment Summary For Patient' menu item at the top of the computer screen.
Some offices like to have a day sheet of all appointments printed up on a daily basis. This can be done by pressing the 'List' button found below the calendar:

A sheet will come down and show you the appointments in a list view. You can also change the status of appointments using this interface, making it useful for calling patients to confirm appoitnments:
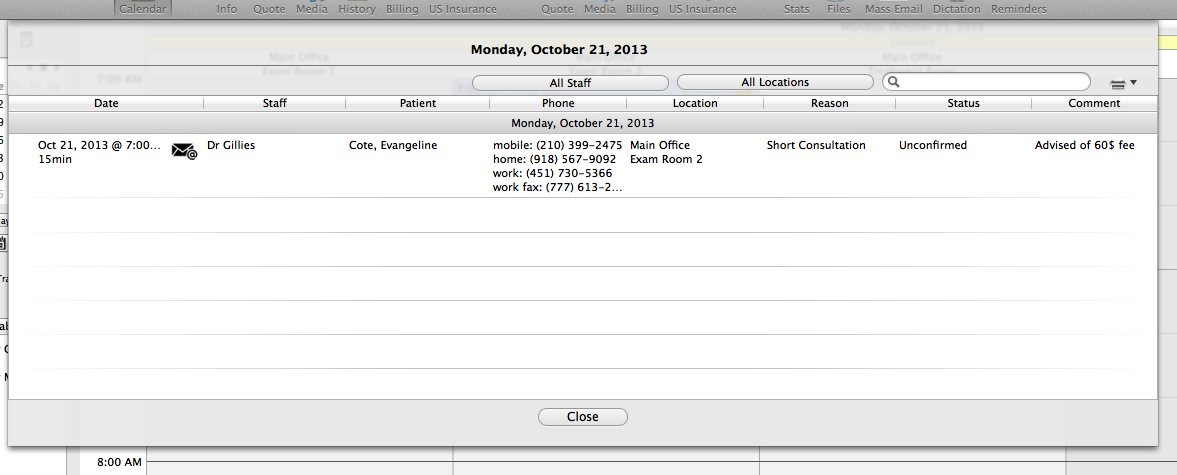
You can print a day sheet by pressing on the print button. You can also send emails to patient with the email button:
The office scheduler has an integrated recall list that can be used. To view the list, press the 'Recall' button which will display the list just below it:
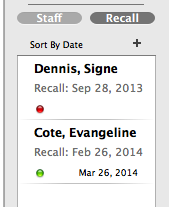
The list is populated using drag and drop. You can drop a patient record from the patient search results sidebar, or drag and appointment from the Appointment Holder:
Dropping one of these items into the recall list will reveal a popover to enter the data needed for the future appointment. The list will then show the patient name, the recall date, and the latest appointment booked for that patient on the lower right corner. If the latest appointment booked is past the recall date, a green light is show. If today's date is past the recall date and no appoitments have been booked, a red light will show.
Presing on the patient name will allow you to edit the entry. Pressing on the appointment will show the appointment in the scheduler.
If an appointment is booked for a patient on the list, the list entry will be removed automatically.