Insurance billing in the U.S. can be very daunting. In order to create an insurance bill with Nopali, there are several steps that you need to follow: prepare physician information, prepare patient information, create an insurance claim, export claim in paper or electronic format, perform reconciliation.
Physician information is completed using Office US Insurance Module. Press the Office US Insurance toolbar icon to see this view:
Every insurance company has different system with regards to physician information. Most use NPI Numbers, and others require a ETIN and a Secondary Reference Number. You can enter these values using the action button in this view:
Press the action button and select 'Insurance Company Staff Settings'. This will reveal the 'Insurance Company Staff Panel':
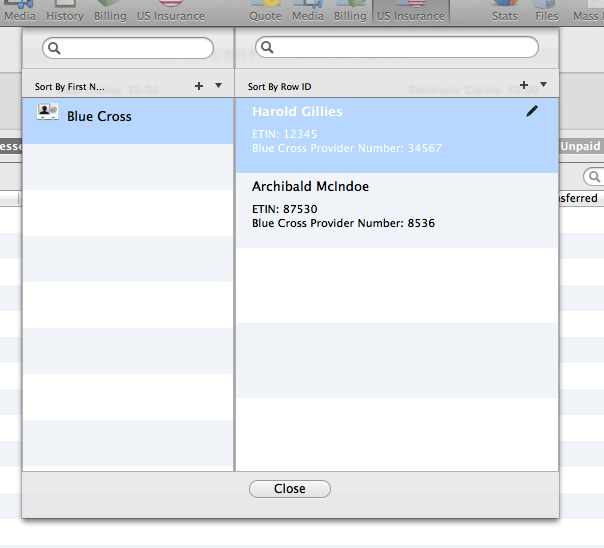
The table on the left shows a list of Insurance Companies. The table on the right, the staff information associated with a selected insurance company. You can press the '+' button on either table to add a new entry. You can also edit entries using the 'pencil' button found on selected rows:

Patient information is entered in the Patient US Insurance view. Press the Office US Insurance toolbar icon to see this view:
The action button in this view is used to enter patient insurance information. Press the action button and select 'Edit Insurance Policy' to add or edit insurance policies for this patient. You can select 'Edit Insurance Settings' to edit patient insurance information:

Click the '+' button to create a new insurance claim for this patient. You will be walked through a multi-step process to create a claim.
In order to maintain compatibility with paper claims, a maximum of 6 charges may be entered for each claim. Press 'Accept' to create the claim.
As a convenience, you can duplicate a claim by selecting an existing claim an pressing the 'Duplicate Selected Claim' option when pressing the '+' button.
Once claims are made, they may be exported in 2 ways: export as a paper claim, and export as an electronic claim. Note that a claim cannot be exported simultaneously in both formats.
A paper claim is easily created by pressing the print button in the Patient U.S. Insurance Claim view.
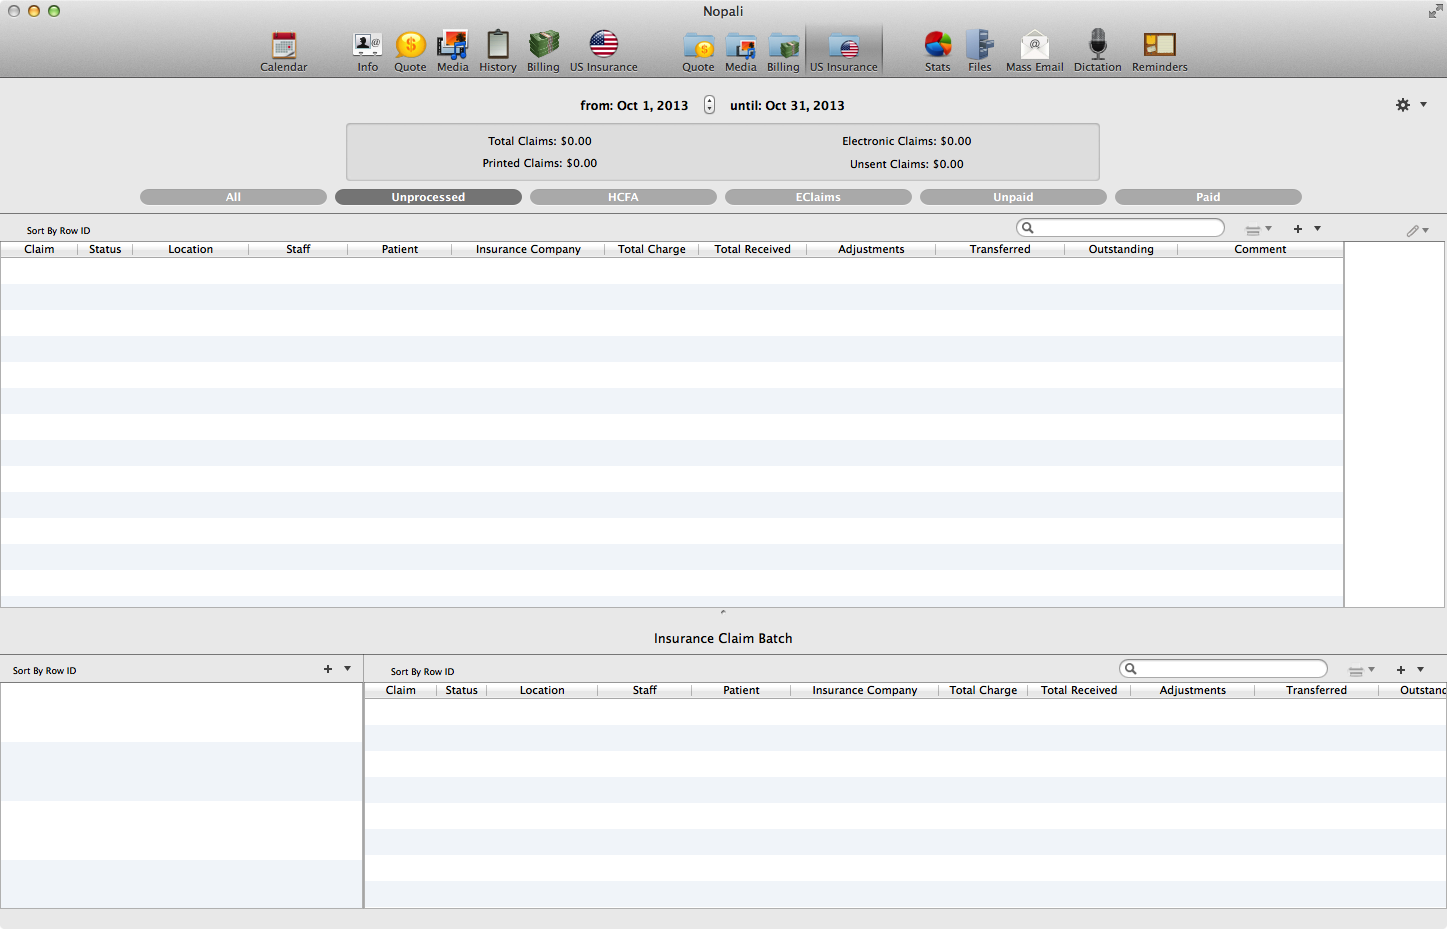
The Office U.S. Insurance view is used to combine multiple claims for batch exporting to a HIPAA file. The Office U.S. Insurance view is divided into multiple tables, with the Batch view going along the bottom of the view:

The table on the left shows the list of batches. The table on the right show claims associated with a selected batch. Press the '+' button to create a new, empty, batch. Once a batch is created, unprocessed claims from the top of the view can be dragged to the batch.
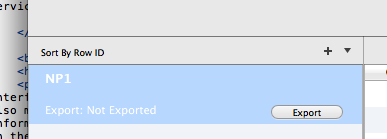
Once you have some claims in a batch, you can export the data into a HIPAA file by pressing the 'export' button on the batch row:
For an export to work, you must designate which insurance companies or clearinghouses in the Insurance Company table (see Insurance Company setup here) can receive Nopali e-claims. Nopali has been tested with 'The Consult Inc' clearinghouse.
You must somehow upload the exported file to your clearinghouse account. This may vary depending on your service provider. Please refer to their instructions.
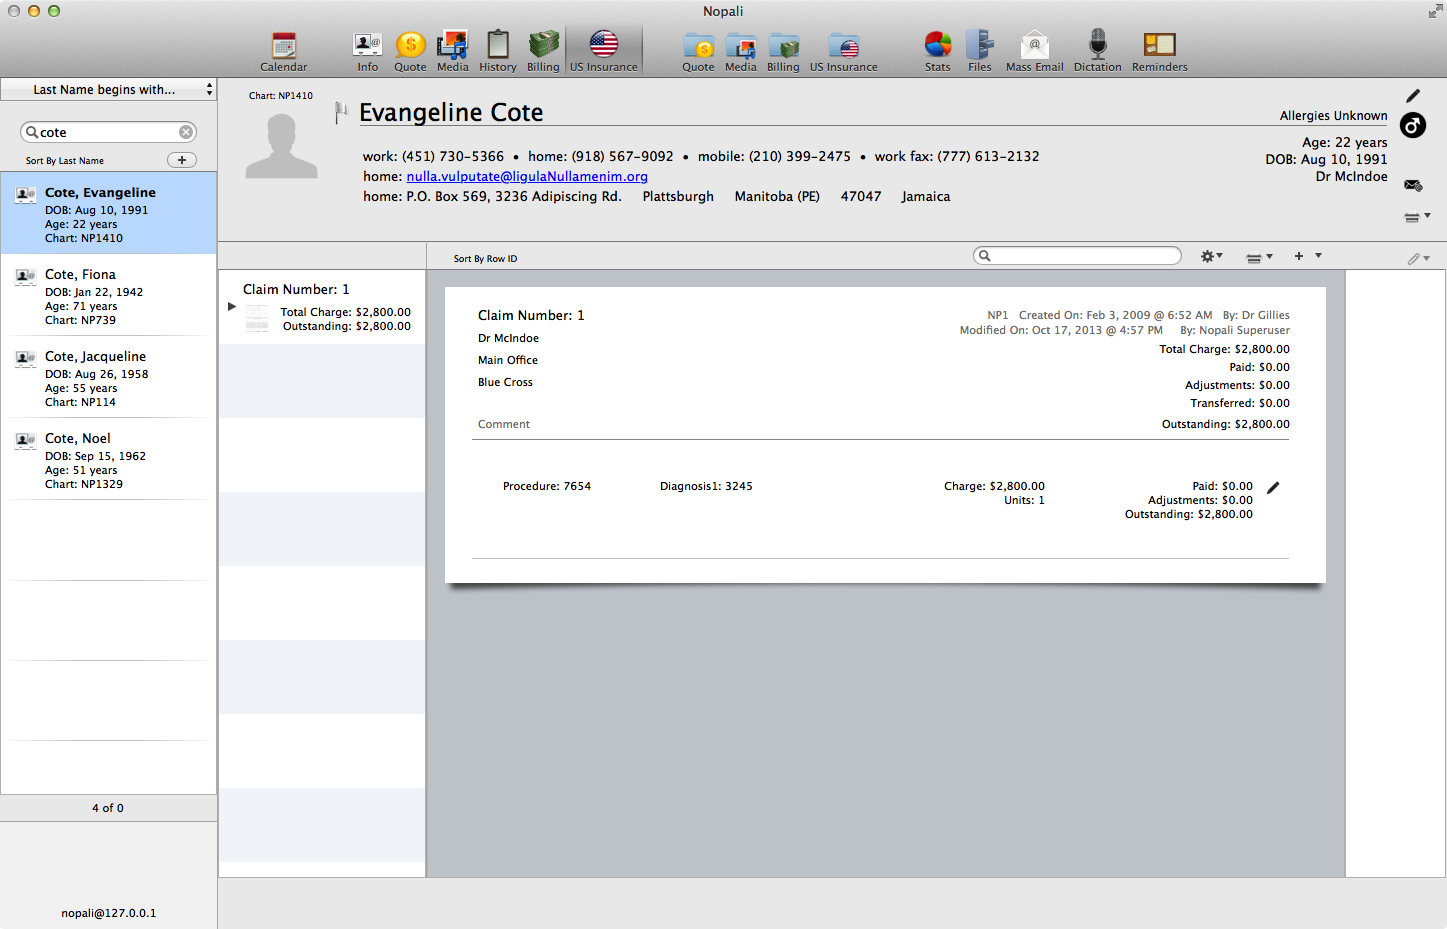
Depending on your clearinghouse, you may prefer to use their web interface to reconcile claims, since it is probably fairly automated. You may also manually enter claim payment information into Nopali. Once Payment information is received, go to the Office U.S. Insurance view and double-click on the relevant claim. This will take you directly to the patient chart:
In the patient chart, press the 'edit' button next to a charge to enter the payment information:
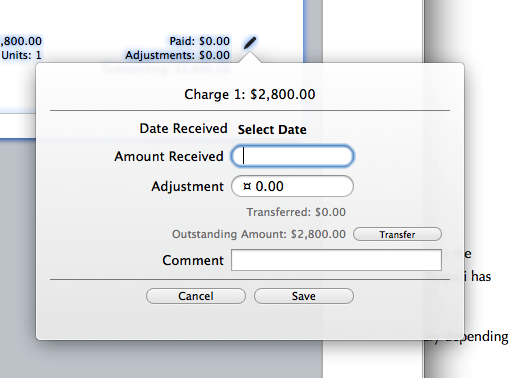
Fill in the date and amount values, as well as any adjustments.
If a claim has not been completely paid by the insurance company, you may choose to accept the loss (by entering an adjustment) or charge the balance to the patient or a secondary insurance company. You may transfer an outstanding balance to the Patient Billing section in order to collect directly from the patient. This is done by pressing the 'Transfer' button in the edit popover.