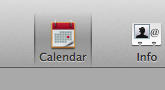
In order to properly set up the scheduler, you need to have entered Locations (described in a previous step here). Press the 'Calendar' item in the Nopali Toolbar and select the 'Calendar>Calendar Settings' menu item.
The Templates Tab is used to set predefined appointment specifications. Although not absolutely required, this may be used to facilitate the creation of repetitive types of appointments. For example, you may want to create default time lengths for 'follow-up' appointments, or another for 'initial consultation'. Default colours may be added.
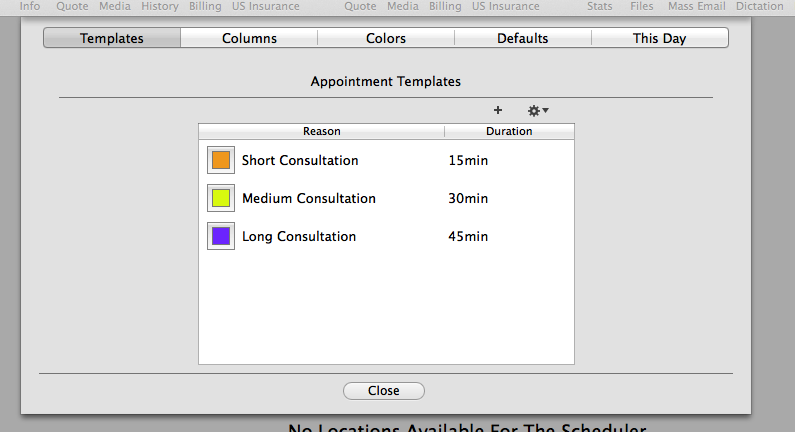
To create an appointment template, simply press the '+' button near the top right of the panel. To edit an entry, select the row and press the 'pencil' button.
You can set the order of appearance of the templates by dragging and dropping a row within the table.
The scheduler is organized into columns that represent office resources. For example, if in Office A there are 2 exam rooms and 1 treatment room, then you would need 3 columns, one for each room. Doing this prevents you from double-booking a room, since it is unlikely that you would see 2 patients in the same room at the same time.
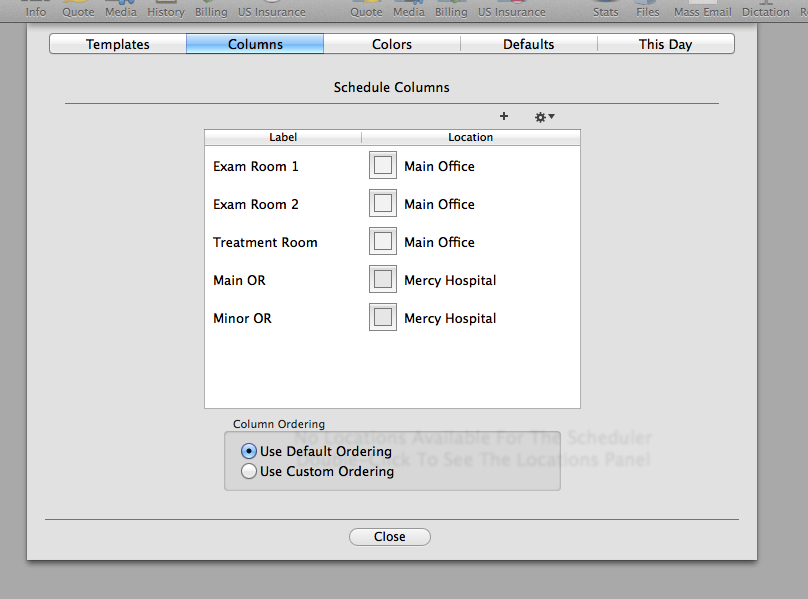
To create a column in the scheduler, press the '+' button. Give the column a name (like Exam Room 1, OR, etc) and a location.
Columns can be reordered by dragging and dropping rows within the table. This will reorder the columns as they appear on the main Nopali window. You can set whether to use the default ordering or make a custom order for your computer station.
You can colour-code scheduler elements using this view. For example, office staff may be given a colour so that all appointments associated with that particular staff member will have an associated colour:
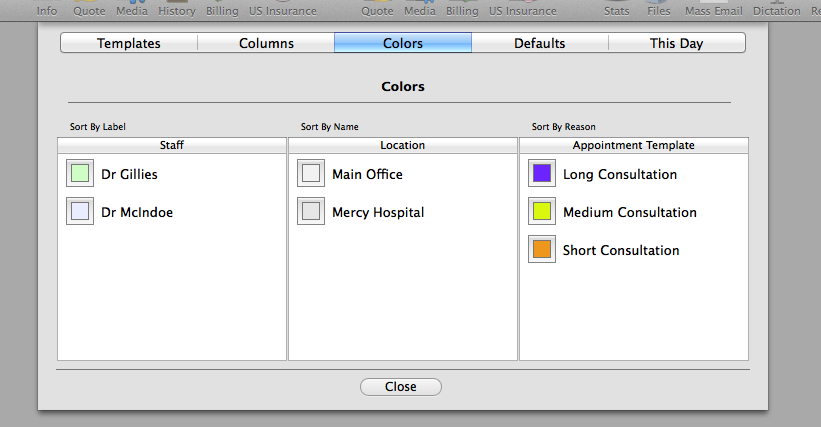
To change a colour, simply select one of the rows in the Staff, Locations or Appointment Templates table and click on the colour selector box. We suggest that you stick with soft pastel colours for Staff and shades of grey for Locations.
The 'Defaults' tab is used to set default values for a newly opened appointment day. These values are copied into the day, but can be manually overridden by using the 'This Day' tab. You can manage which columns are open for each day of the week, as well as opening and closing times:
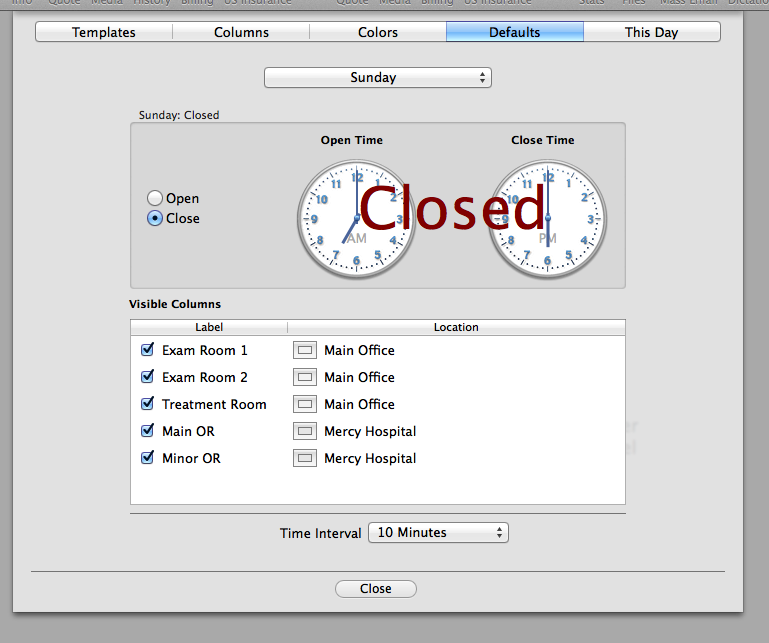
The calendar is divided in time segments during the day. You can adjust this using the 'Time Interval' setting.
The 'This Day' tab is used to override the default behaviour for a particular day. For example, if most of the time, Mondays start at 10, but for a particular date it starts at 11, you would then override the default for this particular day. It functions similar to the 'Defaults' tab, but only affects a particular date.
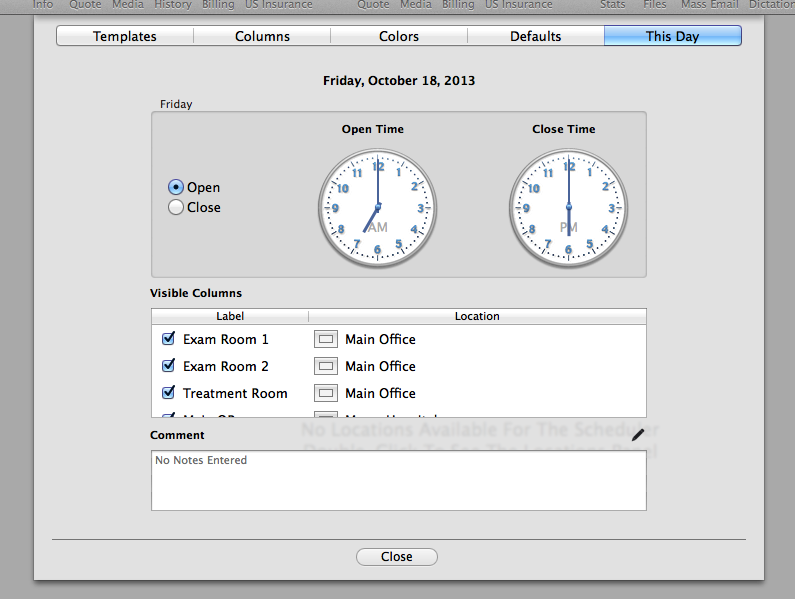
You can also add a comment for a particular day, like 'Dr X On Call' or 'Dr Y On Holidays'. This comment will also be visible on the main Nopali scheduler window.