Nopali works by having client computers connect to the database server at any IP address using the TCP/IP protocol. Furthermore, the connection uses SSL encryption, so there is no need to setup a VPN. In setting up your network, you should decide on which computer the database will be kept.
Within the office network, Nopali will be able to seek out the database automatically using Bonjour Technology. When connecting from outside of the office network (i.e. the Internet), adjustments must be made to the office router so that traffic from the Internet can reach the Nopali server. Note that because of limited upload speeds offered by your Internet Service Provider (ISP), data delivery speed from your server will be significantly reduced when comparing an Internet connection versus one from within the office network. This can be significantly improved by asking your ISP to increase the upload speed of your connection.
The following section will explain how to make adjustments to an Apple Airport Base-Station to allow for Internet-based connections to the server:
Should you wish to allow connections to the database through the Internet, you must expose the database computer (Nopali Server) to the World Wide Web. The port used for Nopali connections is 5434. Although not absolutely required, you may wish to get a static IP address for your office network in order to simplify things. Ask your Internet Service Provider about how to obtain one.
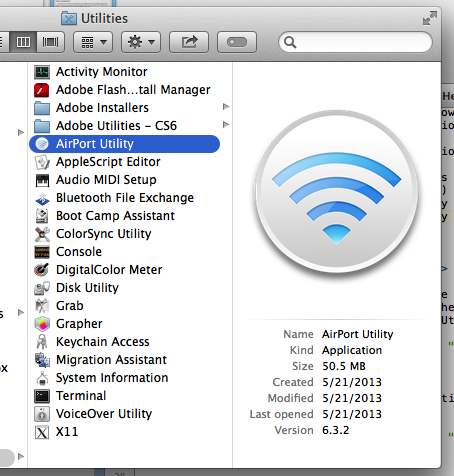
The first thing to do is to make sure that the Base-Station always issues the same internal IP address to the server. Launch the Airport Utility to make the required adjustments. The application is found in '/Applications/Utilities':
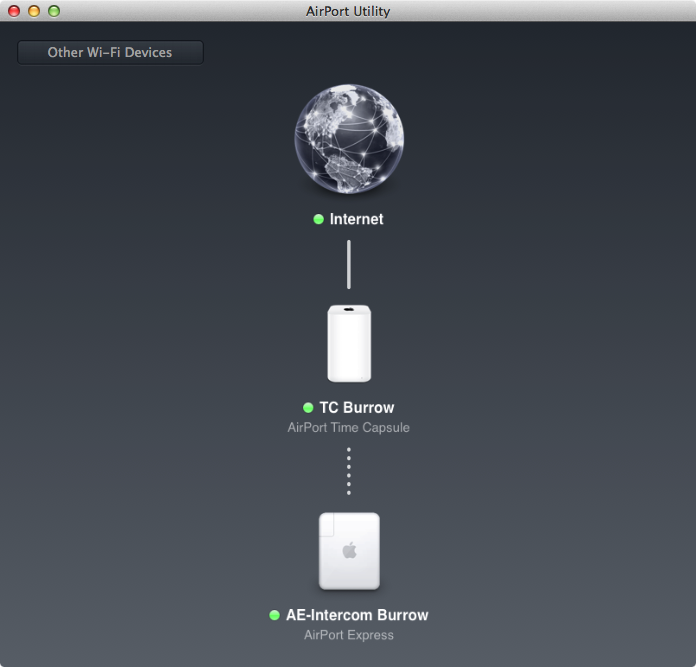
After launching, select the Base-Station serving as the router by double-clicking on the image for the basestation:
A new panel will appear showing the settings for the selected router. Click on the 'Network' tab:
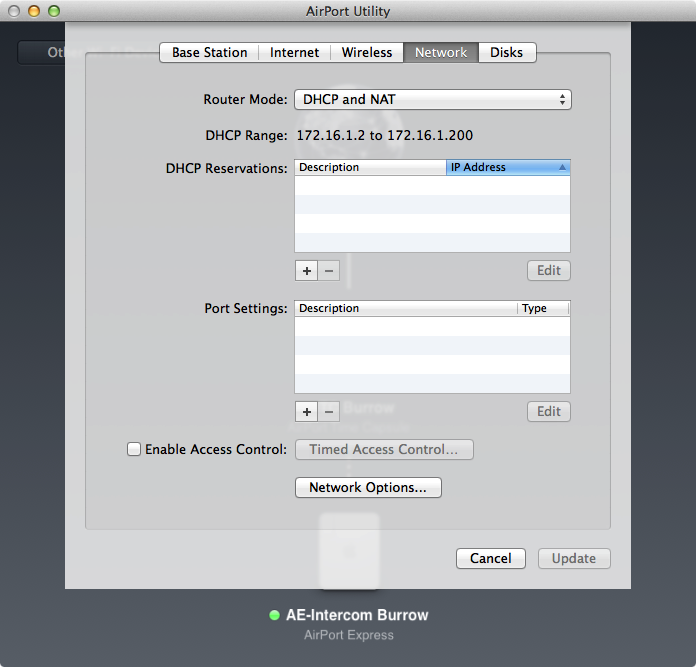
In order to make sure that your server will always get the same internal IP, you can use the 'DHCP Reservations' option found upper-centrally. Press the '+' button to add a reservation. For 'Description', use 'Nopali Server' and select 'MAC Address' popUp button option. Enter the MAC Address of the computer that is functioning as the Nopali Server. Also, specify what IP Address you want the server to always have. A MAC address is a hardware-based unique identifier for any device connecting to a network. On your computer, there will be a MAC Address for the ethernet port and another one for the Airport card. To find the MAC Address of your Nopali Server, go to the server and launch the '/Applications/Utilities/System Profiler' application. Select 'Network' from the list in System Profiler window to find the MAC Address of the computer:
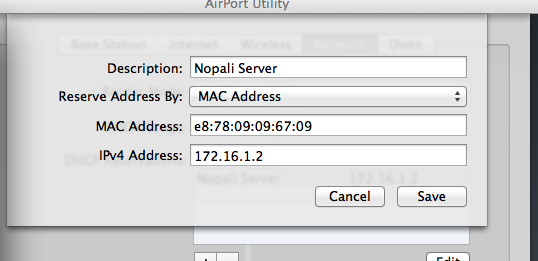
Pressing 'Save' will cause the router to always give the server the designated IP address. You may need to reboot the server for this to take effect.
Nopali connections use communications port 5434. Therefore, you need to make adjustments to the Airport Base-Station firewall to allow 5434 traffic coming in from the Internet to get to the Nopali Server. This is done using the 'Port Settings' area:
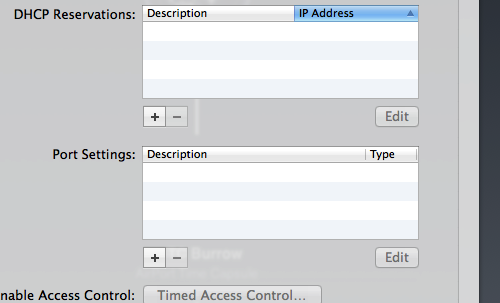
Press the '+' button to add a Port Mapping rule. Enter '5434' in all UDP and TCP fields. Also, enter the IP Address of the Nopali Server (the same IP address that you reserved in the previous section):

Enter 'Nopali Port' as the mapping Description and press 'Save'.
You should now restart the Base-Station to enable the new settings. During the restart of the base-station, you should also reboot the server.
If you are not comfortable setting up the network securely, getting professional help is always recommended.
Once you have the network details properly set up, you can now connect to the server using the Nopali application. Double-click on the Nopali application to get the Connection panel:
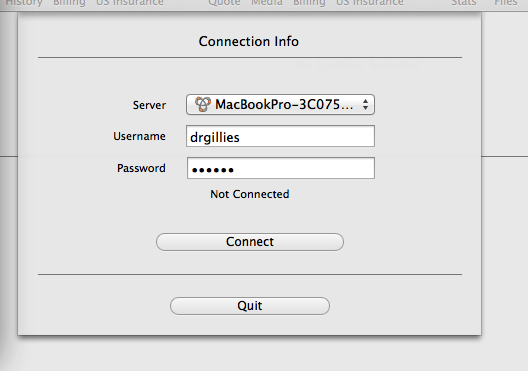
The connection panel has several elements that allow you to properly connect to your database server. The first one being the 'server' pop up button:
The 'server' button will automatically seek for Nopali databases on the local network using 'Bonjour' technology. Nopali Servers that are found using this method are prefixed with the 'Bonjour' icon.
If you are not in the office network, then Bonjour' will not find the server. Instead, you would need to enter the IP Address of the office network by pressing the 'Server' button and selecting 'Enter New IP Address'. Enter the 'External' IP Address of the office. (Hint: To find the 'External' IP Address of the office, enter 'whatismyip.com' into a web browser and press return. Do this when you are at the office.)
Of course, you would need to enter your Nopali username and password to connect to the database. Note that this is not the same as your computer username and password. Rather, it is whatever username and password you entered when creating the database users.