With Nopali, you can maintain multiple price lists in the office. This becomes useful when different staff members charge different fees, or if different fees are used depending on the location where the patient will be given a service. Select the 'Tools>Price List' menu item from the top of the screen:
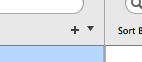
The price list works by entering a product (goods & service) to the list, and applying charges and other information to the entry. To create a new price list, press the '+' button on the top right of the table on the left:
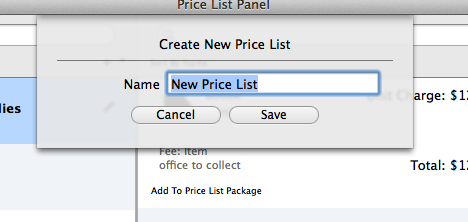
A panel will come down allowing you to enter a name for the price list:
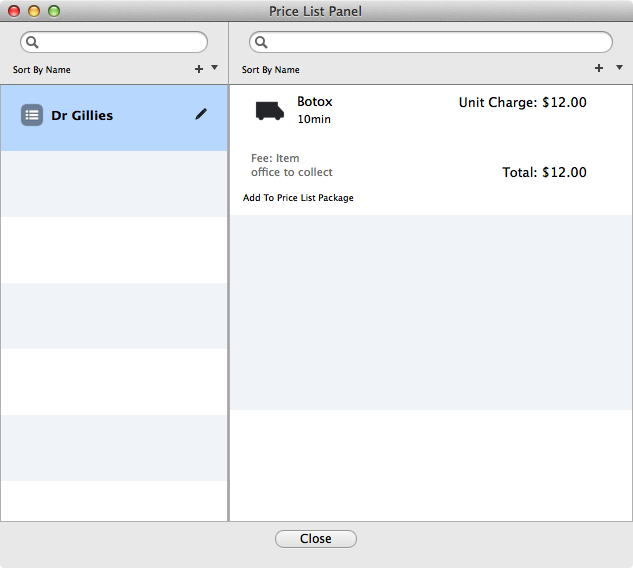
Once a price list has been created, you can enter products to the list. On the table to the right, products for the selected price list are listed. Press the '+' button to make a new entry to the list:

Once a product is selected, you then need to fine-tune the entry:
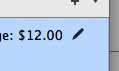
Entries can be edited by selecting a row and pressing the 'pencil' button:
Price list items can also be grouped in 'Packages'. This can be done using the 'Packages' panel (found here), or directly through the Price List Panel by pressing the 'Add To Price List Package' button: